
Stylo Board
This quarter was spent attempting to scale the Stylo Board from a prototype unit to a design that could be produced in low volumes for a pilot program. In the last quarter, I received a grant to fund a pilot program and the goal of this quarter was to produce a small number that could be installed into stores to test out the use. The trajectory of the program took a little bit of a different focus as it was clear that the ability to productively use the display would be essential for a user to actually test it out. As a result, much of the progress was focused on the Android Development to explore the user interface of the Stylo Board.
-
To start, I rebuilt the CAD model to accommodate a smaller, more optimized device that could be produced repeatedly. Everything was rethought with manufacturability so that it was only a couple steps away from high volume manufacturing.
-
Though the original plan was 10 units, due to constraints around supply chain and the support required to deploy each unit, I decided to built a set of 5x units.
-
I explored a couple different ways to make sure that the pen didn’t dry out in between drawings. This took a couple different forms and prototypes.
-
To actually use the device, you need to be able to control it. It was clear that the mobile app had to be developed to the point where it could be used by a regular user.
-
Through discussions with potential customers and users, I explored

A Stylo Board installation in the Product Realization Lab to test out how people would use it in that type of environment.
Parametric, Top Down CAD Model
I started this quarter by revising the CAD model to account for a handful of things that I had learned with the previous test mule and to optimize the design for size and manufacturability.
The assembly was intended to be built with 3D printed parts, waterjet and formed sheet metal parts, simple bent acrylic and a collection of hardware/off the shelf parts.
The objective was to design all the components in a way that would stream line the DFM and allow an easy transition to stamped sheet metal and injection molded parts.

Prototype Build

I produced a set of 5 units of unique colors to more easily track issues and bugs across them as they get deployed into different contexts and locations.

The device was composed of waterjet aluminum sheet metal parts, machined components and 3D printed parts.
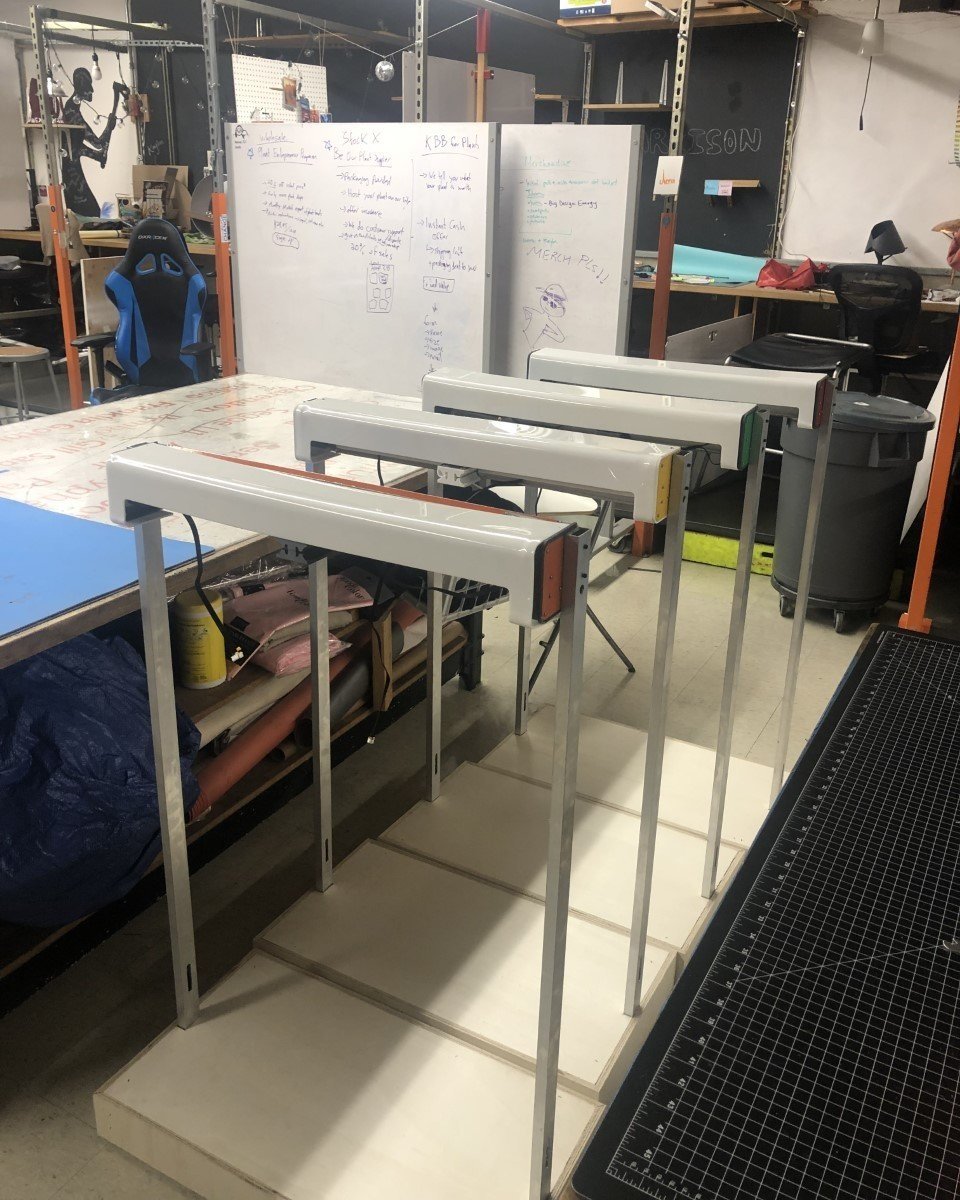
They have been designed as stand alone displays in the interest of ease of transportation and repair. The hope was that I could install 4 units and hot-swap out a device as needed with a repaired or updated version.

The electronics consisted of two separate boards. First was an Ender3 board that drives the motors and controls the motion of the pen. This was connected to a Raspberry Pi which coordinated the communication between the tablet to the control board. This linked the wireless communication to the serial connection and relayed the GCode commands back and forth. I was intended to use Raspberry Pi Zeros but found issues with the antenna strength and had an issue of communicating quick enough so I swapped back to a Raspberry Pi 4 which had a bit more processing power.
Acrylic Bending

In order to bend the acrylic, I created an MDF buck that was used to form the acrylic around. I used a combination of the strip heater and the hand heat gun to heat the two folds required for the design. I encountered significant amounts of stretching on the acrylic once heated which made it difficult for the ends to line up.
Ultimately, I had to do a couple adjustments while the acrylic was mounted on the rest of the assembly by heating the plastic to form around the mounts.
Vinyl Template

To aid in the sheet metal operations, and act as a powder coating substitute, I used a vinyl cut out of the flat pattern. This allowed me to quickly grind the rounded corners.
Additionally, I made a template that I double side taped onto the top surface that allowed me quickly punch all the holes without needed to mark out the locations. Unfortunately, I found that as I was punching the holes, the template shifted slightly on me adding in some tolerance issues between the hole locations.
In the future, I intend to laser or waterjet cut these parts to eliminate this issue.
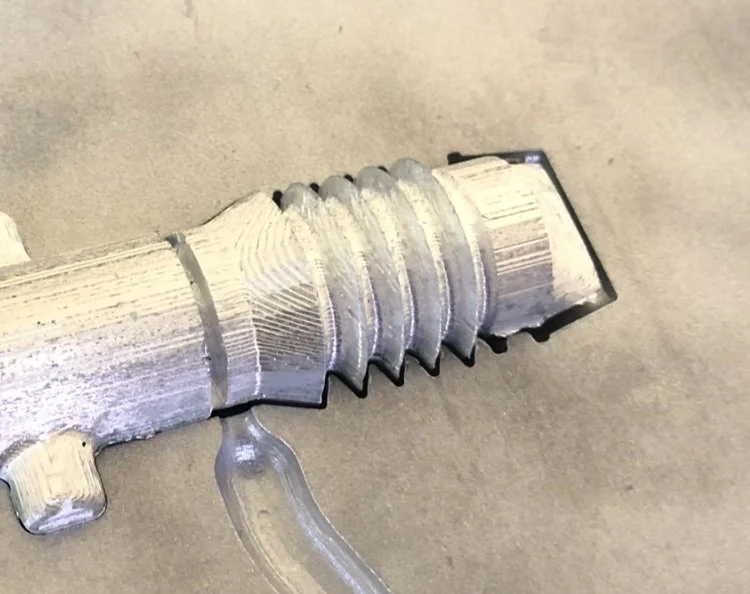
PCB Machining
As I plan for how I will scale production, I was curious about the feasibility of machining prototype boards myself as the design evolves. Though the outcomes looked compelling, it was clearly going to struggle to machine the very small traces needed for the stepper motor driver.
I later sourced a PCB vendor that can spin boards at $2 a piece with a week turn around which is a very compelling option for prototyping.

Battery Power

The long term vision is for the Stylo Board to be solar powered so that it can operate in remote locations. The first step in this is to get the display to run off battery so I spec’d a battery that could drive the display and it worked quite successfully!
In the short term, this allowed me to more easily approach stores to get feedback. I additionally connected the device to a mobile hotspot so that connecting the tablet to the display was quick and straightforward when doing demos.
Pen Docking
Duck Bill & Bellows
My first approach to solving the issue of pen drying out was to build a solution that lived on the carriage and allowed for the pen to retract into the carriage and stay fresh. The idea was to attach a bellows with a duckbill valve so that the pen would poke through the duckbill and draw on the surface, then retract when not drawing.
I used the Othermill to machine a quick, 3 part mold for the injection press that allowed me to shoot parts in TPE, which had proven itself important as the part needed to be quite thin walled so compression molding in silicone seemed challenging.
Docking Station
I very quickly realized that the volume of the bellows was going to be too much to prevent the marker from drying out so I pivoted to a significantly smaller volume enclosure.
The next approach was to create a silicone docking station that would seal just around the tip of the pen. I created this with a 3D printed mold that allowed me to compression mold a test piece in silicone.


Android Development
This demo illustrates the android functionality that I was able to implement this quarter.

Product Vision
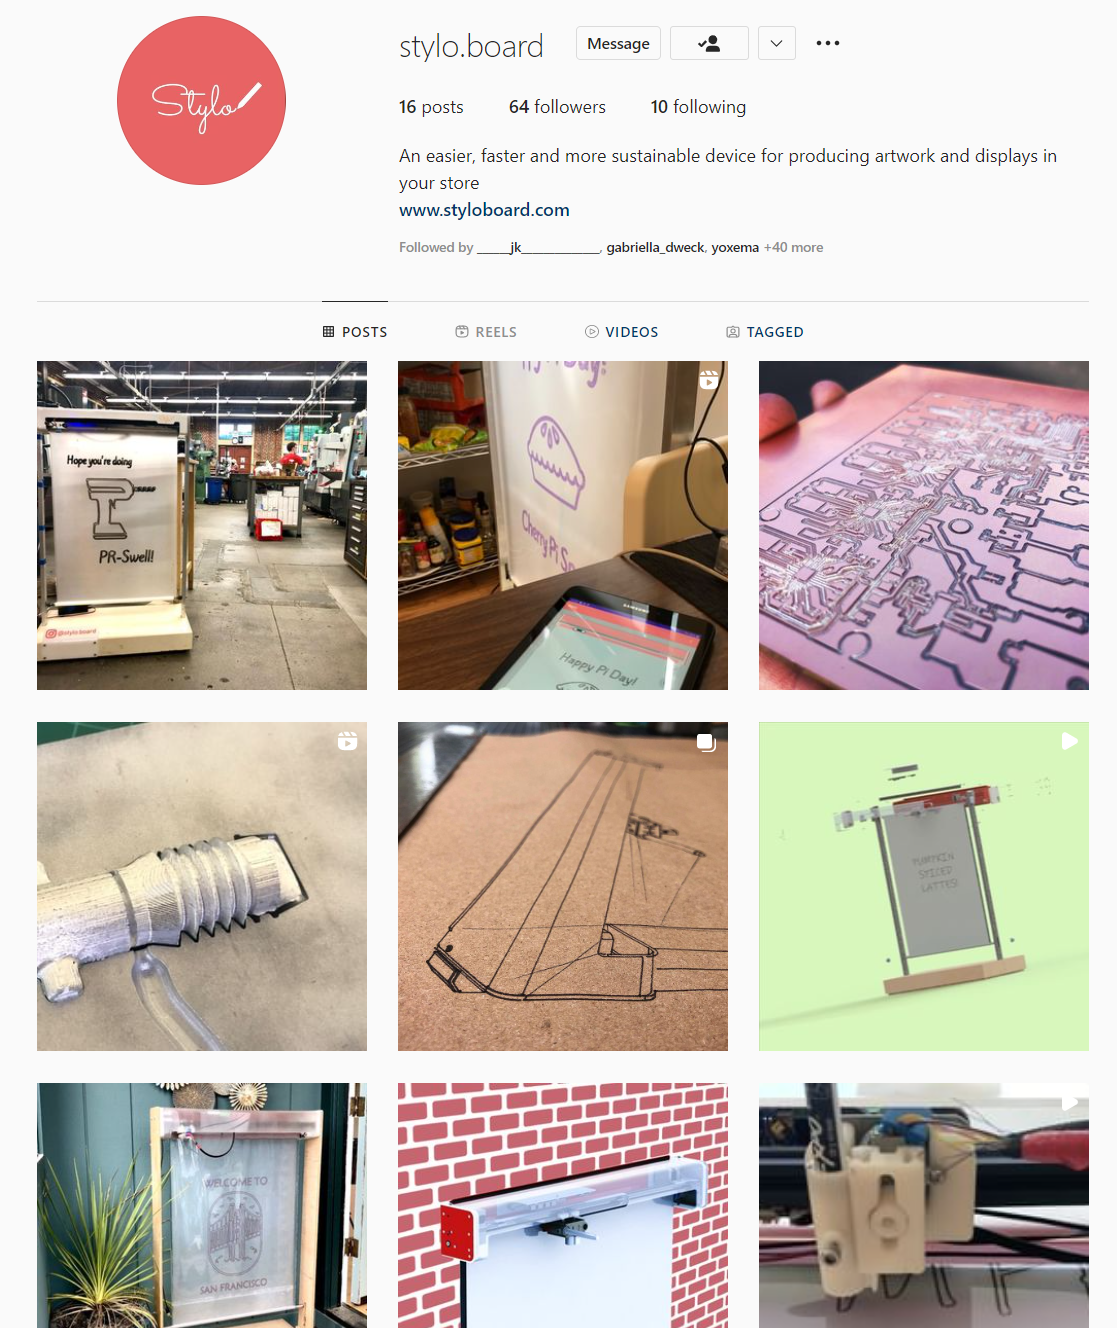
In the interest of documentation and feedback, I started building out the branding and social media following around Stylo.
Financial Model
Though this was originally crafted during Winter quarter, I used this revenue model that I built to discuss, evaluate and evolve the business model for the Stylo deployment.